Browse Author: admin

How Do I Add People to My SmartCoparent Account?

You can add members to your SmartCoparent Accounts

Go to the main menu > select ‘My Members’

To add an adult member, select ‘New Adult’

Fill in the account details and e mail address and select ‘Create’. Your member will receive an invite to join.

Until the invite is accepted, the adult member your invited will remain in ‘pending status’ on your account.


To add a child member, select ‘New Child’

If you want to invite a child to join your calendar and chat

Fill in the account details and e mail address. Select a unique calendar event color for your child so that unique, then select ‘Save and Send’. Your member will receive an invite to join. You can share calendar events and messaging / chat with your child.

If you select ‘Save Only’ your child will not receive and invite to join SmartCoparent.


If you don’t want to invite a child to join your calendar and chat, or if your child doesn’t have an e-mail address

Fill in the account details and skip e mail address.

Instead, fill in a ‘User Name’ and select ‘Create Password’ (see below) . 

Then select ‘Save Only’.

You can share the username and password with your child to share calendar events and messaging / chat with your child. Or, you can keep this to yourself.


How Do I Get Started?

In order to get started, simply sign up at https://app.smartcoparent.com/signup

  1. Enter your e mail address
  2. Create a password

No credit card info needed!

You will be directed to the profile screen to answer a few questions about your preferences (your calendar preference and what currency you receive / pay support)*.

*Children / kid accounts are not asked these questions.

You will receive and e-mail from SmartCoparent to confirm your e mail address.

Once, that is completed, you are all set to use SmartCoparent!

What if My Payer Co-Parent Doesn’t Join SmartCoparent?


Only one person joining SmartCoparent? No problem.


If you are a support recipient, you can enjoy all of the benefits of SmartCoParent without needing your support payer to join.Only your payer’s e-mail address is needed to create support payment requests,  view responses, etc..


How a Support Recipient Can Setup SmartCoParent With Only One Participant


Login or Register your account on SmartCoparent

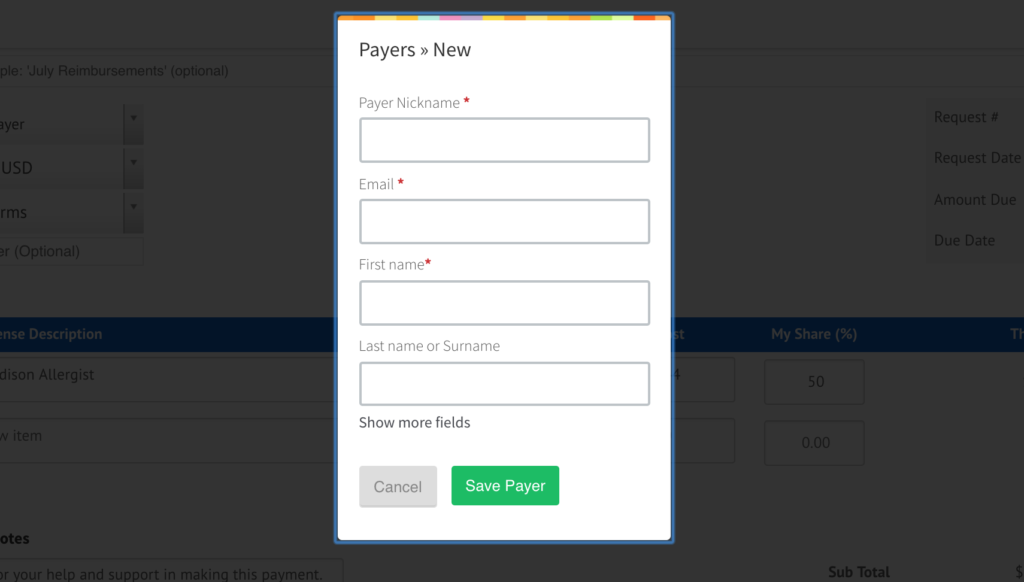
When you create your first Support Payment Request,  you automatically will be asked to enter your payer details. Don’t worry, SmartCoparent will not automatically send responses to your payer from there, until you request them to be sent.

Select the ‘Select Payer‘ dropdown and enter your payers details:


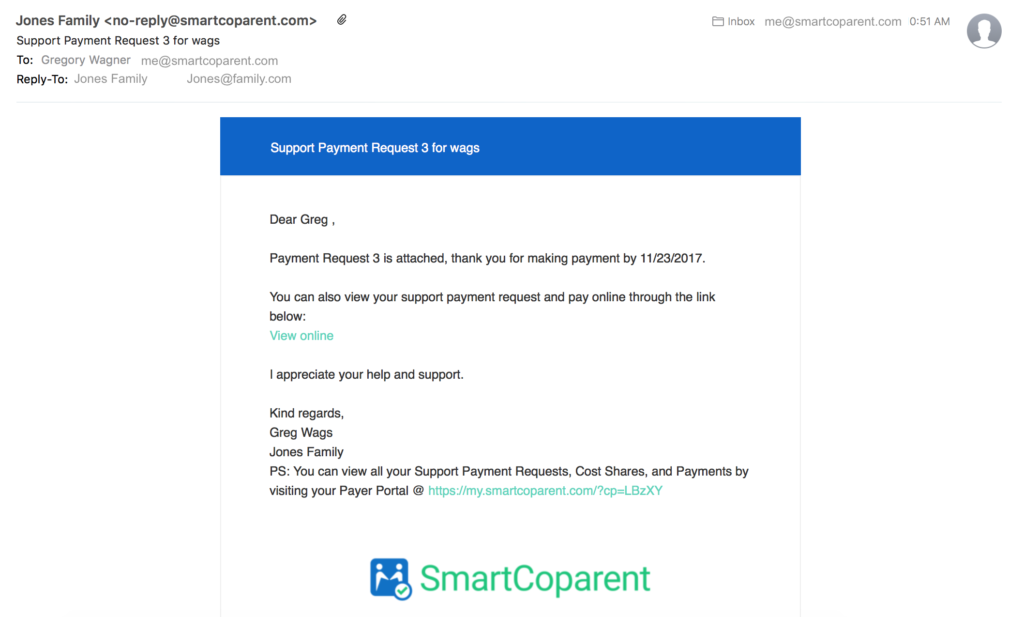
That’s it. If you send your payment request to your payer, she / he will receive easy to read e-mails and can access the support payment through an on-line link. No need to login to SmartCoparent.


Or, he / she  can view at all payment request status on our FREE on the Payer Dashboard


Both links are conveniently found on the e-mail sent to your payer.


For Free Starter accounts, your support payer will be able to ‘Approve’, ‘Decline’ Support Payment Requests on-line

For Premium accounts, your support payer can also make payments to you automatically on-line through our PayPal link. For more information on how to setup your SmartCoparent Premium account to accept payments on-line, please check click here.


How Do I Attach Receipts To My Support Payment Request

Adding receipts is an important and a simple part of communicating a Support Payment Request.

Steps to Attach Receipts to a Support Payment Request On-Line :


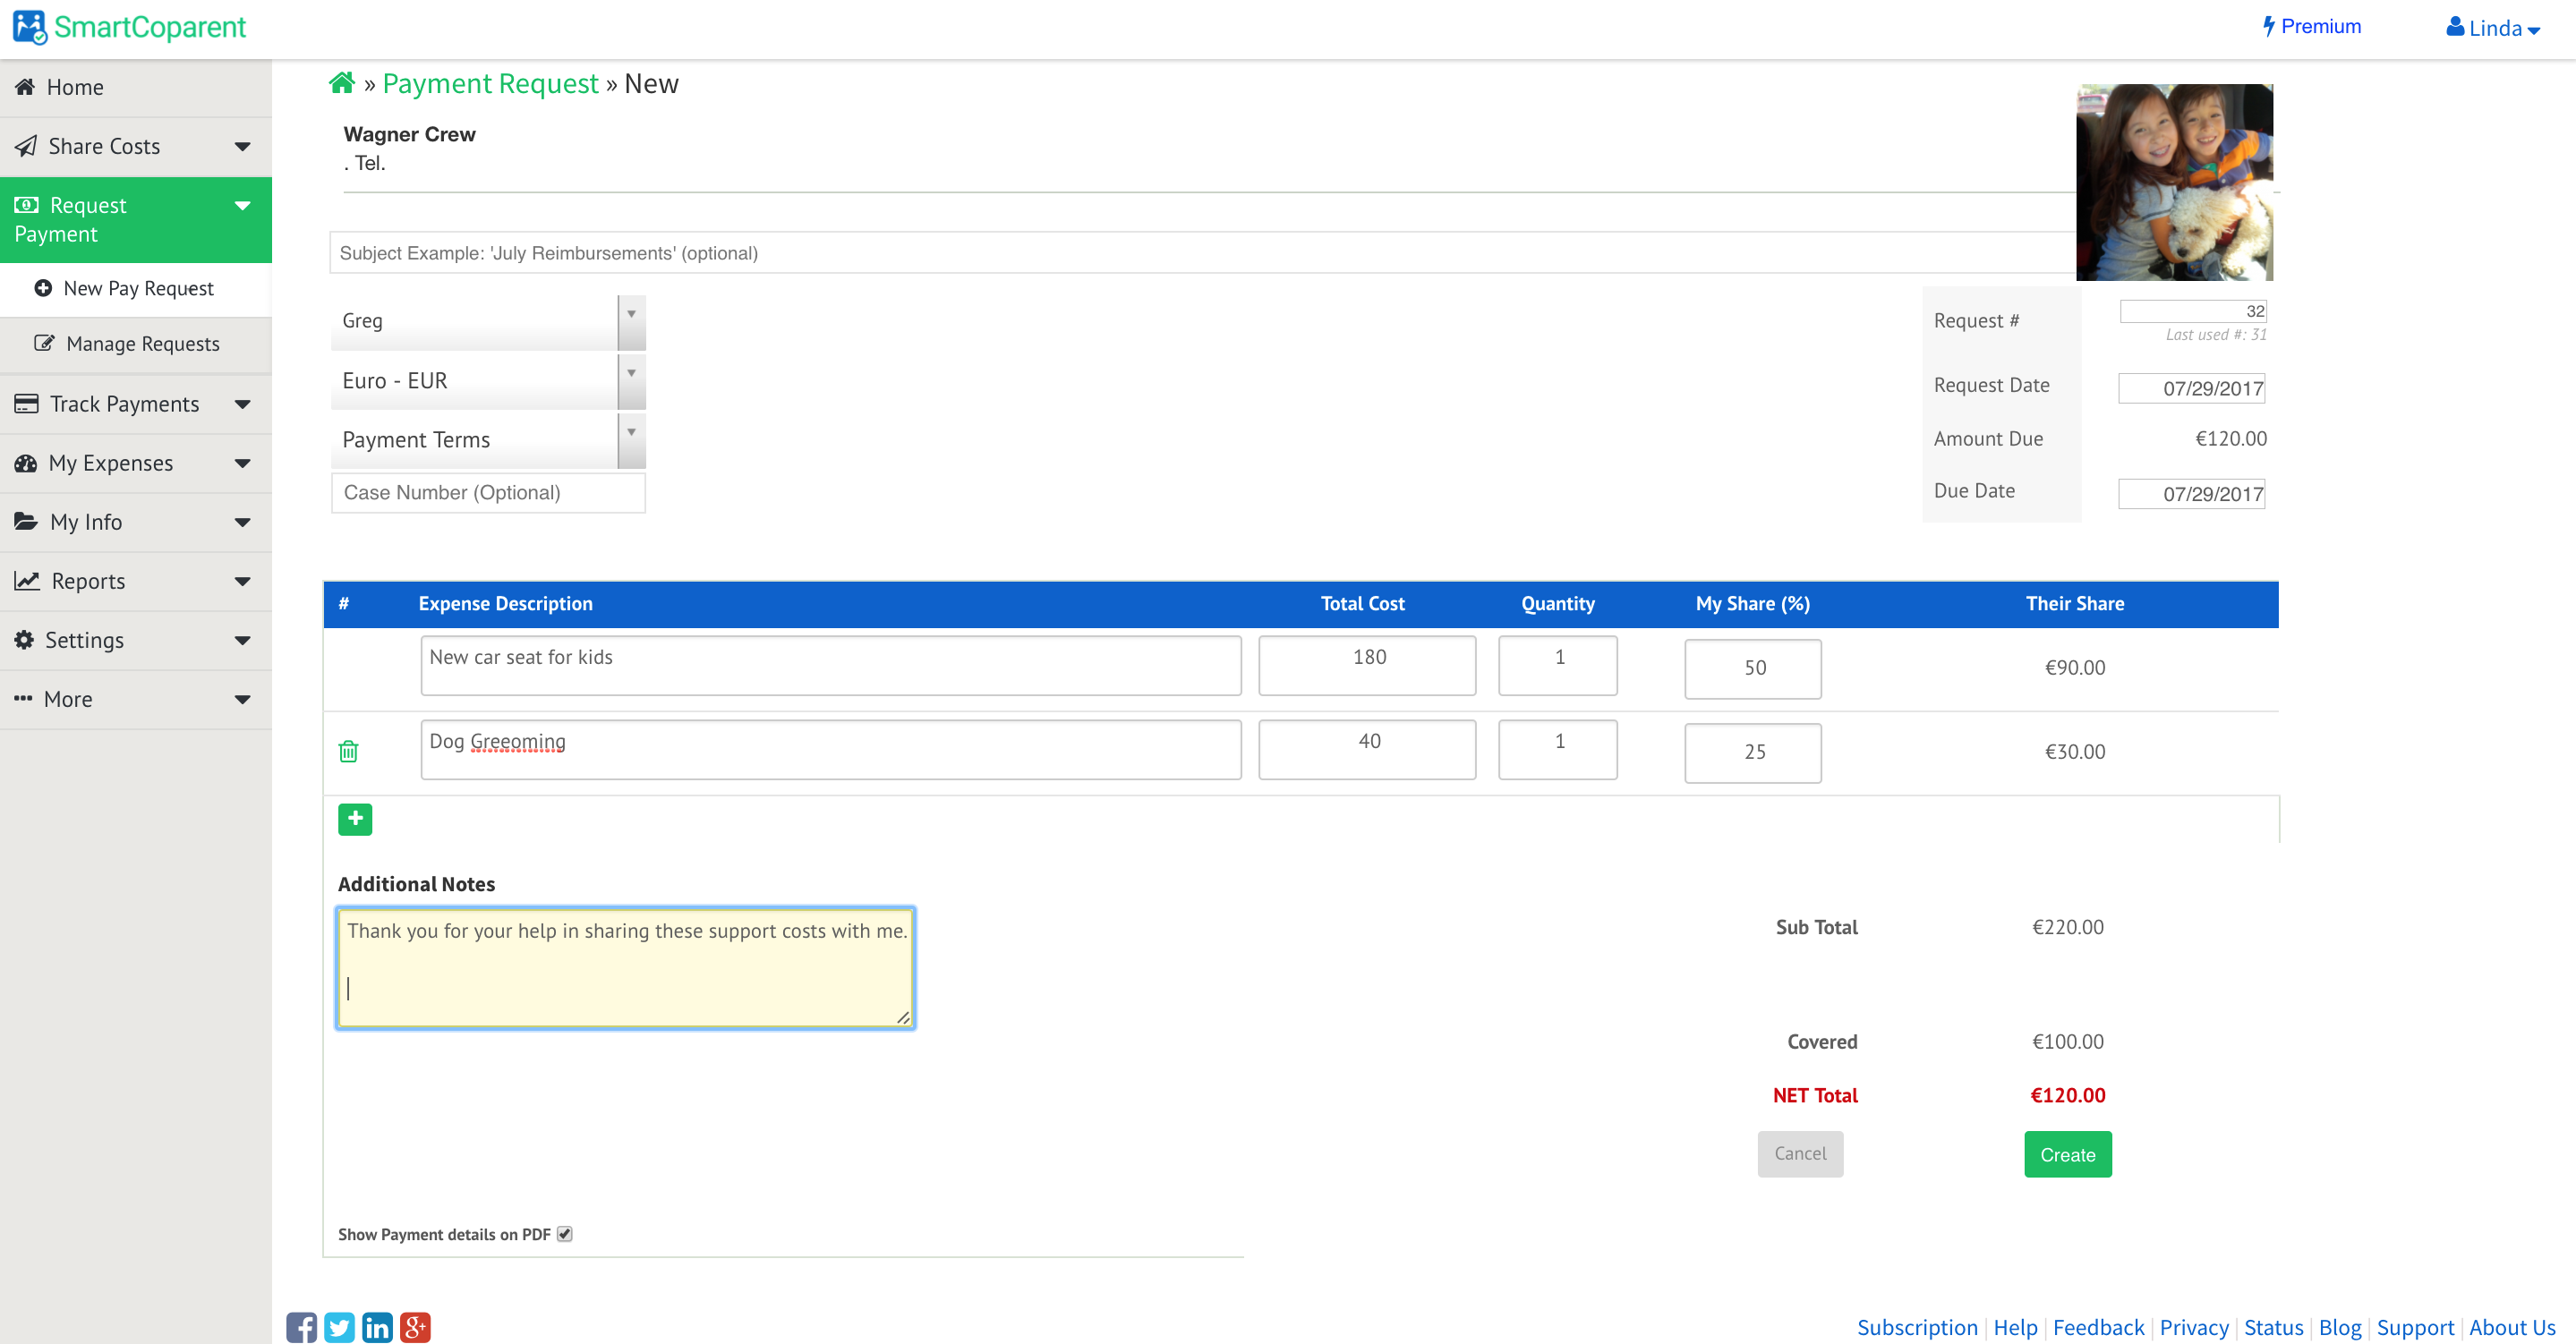
Create your Support Payment Request, when finished providing the details, select Create at the bottom of the screen


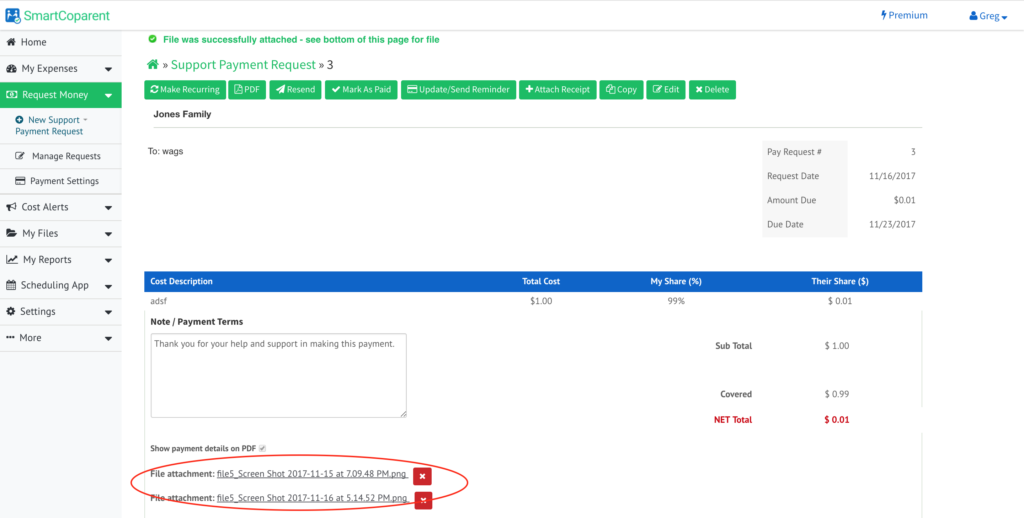
On the next page, select ‘Attach Receipt‘ at the top of the menu


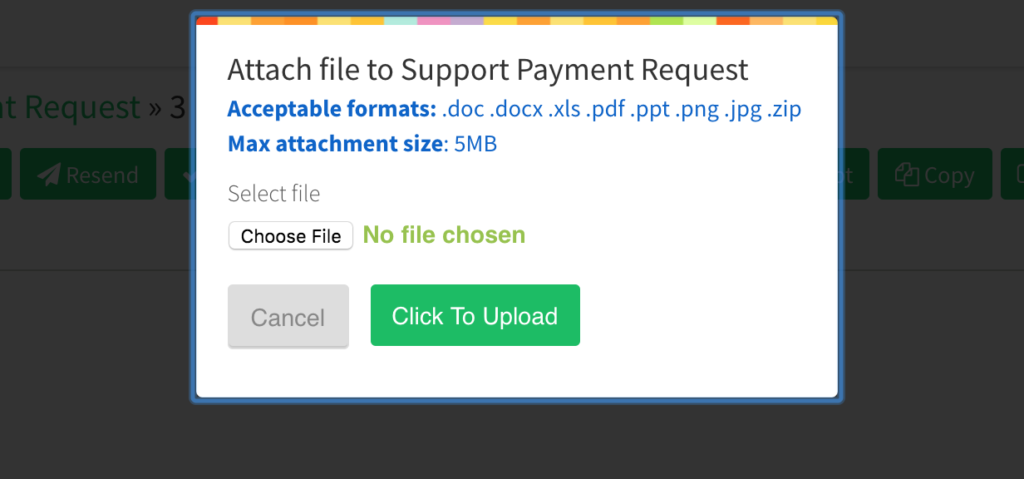
Upload your receipt from your laptop or from your smartphone photos by selecting ‘Choose File‘ selecting your file and then selecting the  ‘Click to Upload’ button. The attachment can be in PDF, PNG, JPG and several other formats..


Your receipts are now attached to your support payment request at the bottom of the screen.

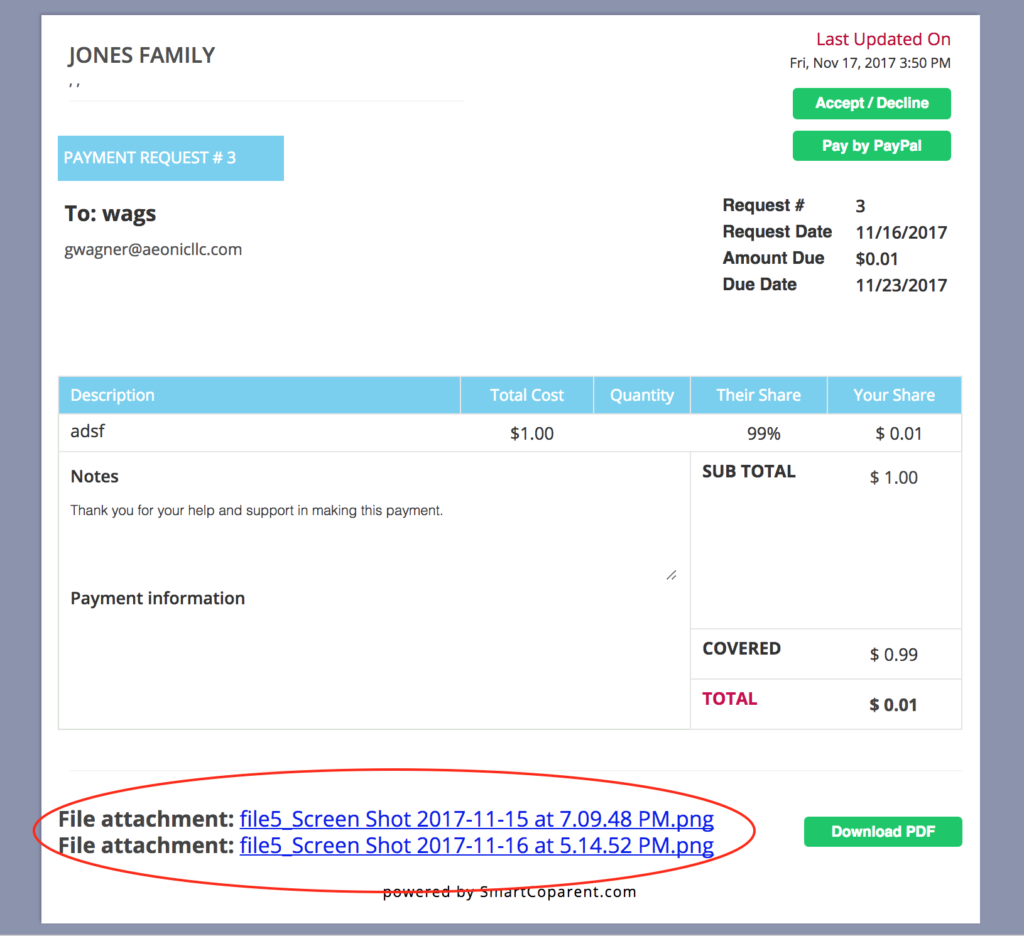
When you send your Support Payment Request, your payer can view the receipts by selecting the link(s) at the bottom of the Support Payment Request notification.


How Can I View All of My Support Payment Requests?

You can easily view a status of all your support Payment Requests by clicking on Request Money > Manage Requests in the menu.

Alternatively your can click here to view your Support Payment Requests.

Once on the Manage Requests page, you can easily view various details of your requests such as Payer Name, Payment Status, e-mail Status, Date etc.

**Please note: Any Support Payment Requests not paid, or marked as ‘Approved’ or ‘Declined’ will remain in ‘Unpaid Status’ on your dashboard until your payer makes an automatic payment via our PayPal link, or you mark the item as ‘Paid’.


What is a Support ‘Payment Request’?

Support ‘Payment Request’?

Definition: a digital document sent your payer co-parent that specifies the details  and amount of the alimony, child support or misc. support that you are requesting.

A support ‘Payment Request’ indicates the total cost of the expense, your share of the cost (if any) and the payer co-parent’s share of the expense to be reimbursed to you and any receipts that you wish to attach.

Payment terms usually specify the period of time that a payer co-parent has to reimburse the payment to the payee co-parent so that the payee can meet credit card or other payment due dates.

How Can I Send a Support Payment Reminder?

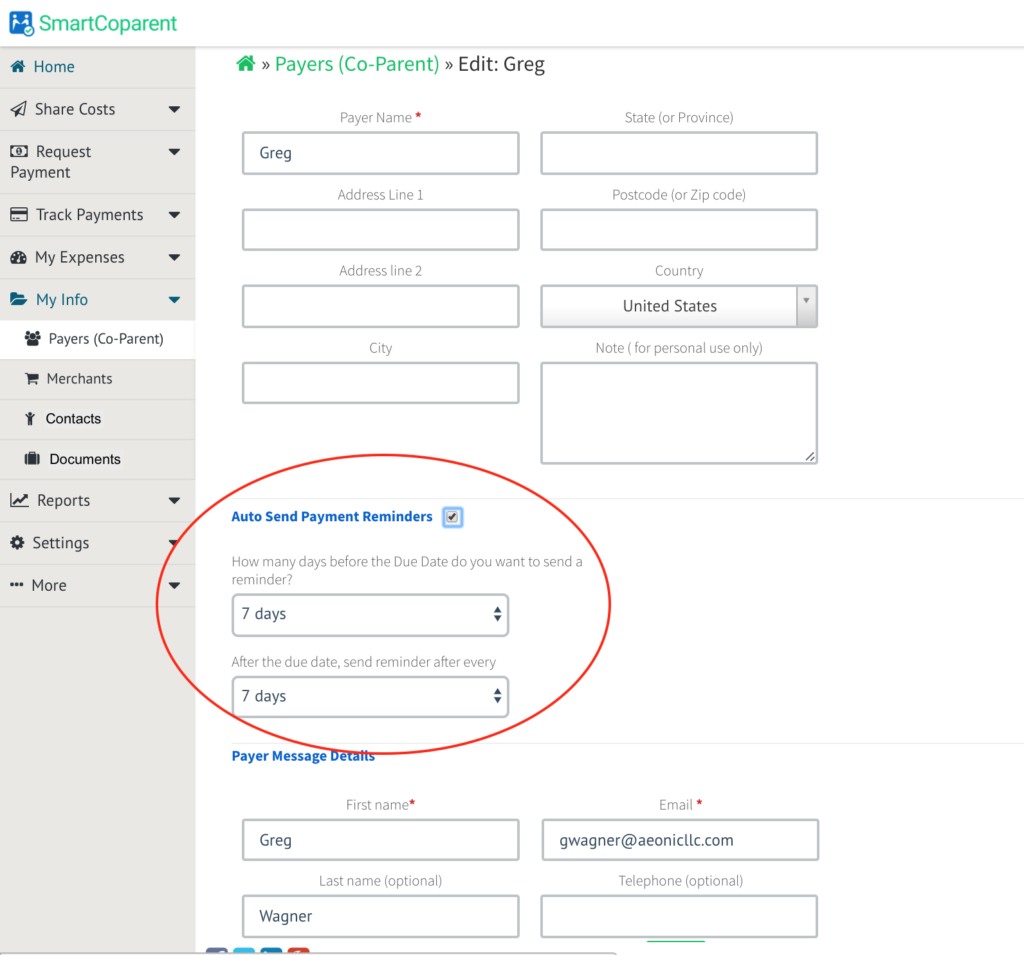
SmartCoparent automatically sends reminders to your payer co-parent if you have setup the Auto Send Payment Reminders  under the ‘My Info’ > ‘Payers (Co-Parent)’ > Edit Payer screen.

You can also send manual Payment Reminders using the steps mentioned below.

Steps to send a Payment Reminder for an Support Payment Request:

  • Go to Request Money > Manage Requests
    • On the ‘Manage Requests’ screen, click on the Request number of the invoice you would like to send a reminder for. This will open the detailed invoice page.

    • Click on the Update/ Send Reminder button to view all the payments made against this Support Payment Request.


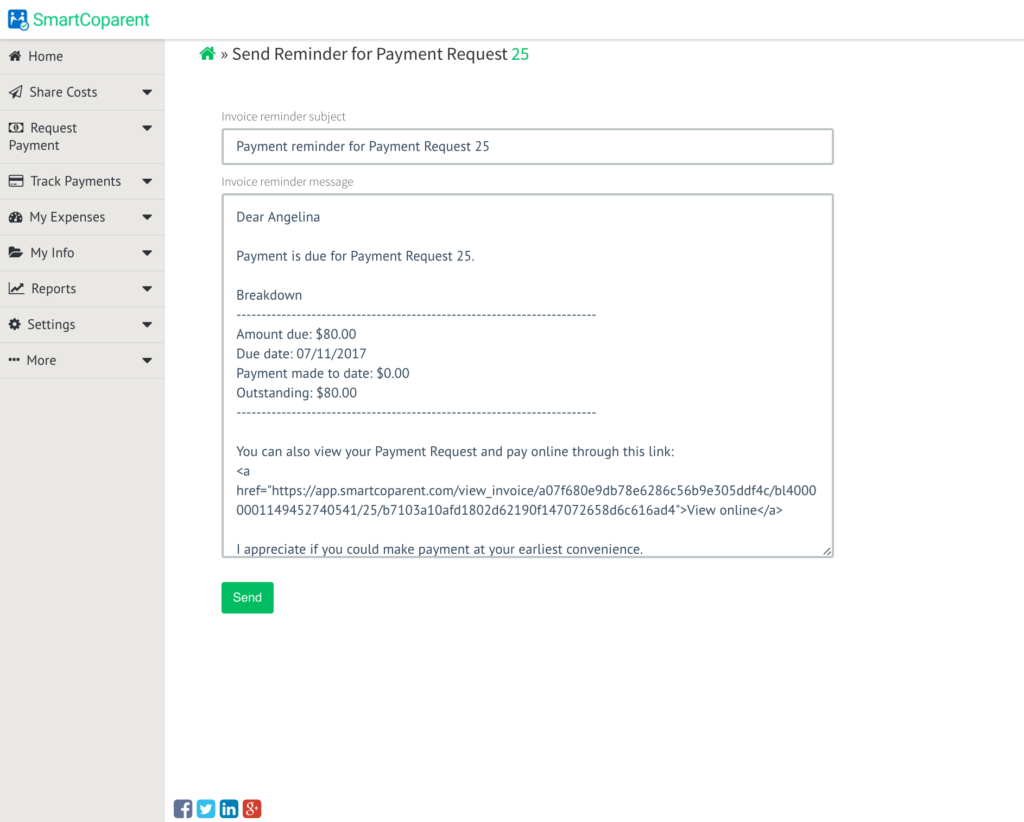
    • On the Update / Send Reminder   screen click on the ‘Send Reminder’ button. This will open up the Send Reminder page where you can edit the Subject, the e-mail body, etc.

  • Once you are done with making the changes you can click the Send button to send the reminder e-mail. You will be notified by e mail when the payment reminder was sent to your payer